🔗 How to Add a Payment Link in Logistifie
🔗 Navigate to the Payment Link Section
- Login to your Logistifie dashboard.
- Click on the Finance menu from the top navigation.
- In the dropdown, select Payment Link Summary.
On the top right, click the ➕ Create Payment Link button to open the payment link generation panel.
🛠️ Two Ways to Generate a Payment Link
🔹 1. Create Manually
Use this when you don't have a job reference but need to bill a customer directly.
The Select Account and Job Number fields are optional.
If added, other fields will auto-fill.
If not, fill out all fields manually — including Customer Name, Email, Net Amount, VAT%, and Card Charges.
Click Generate Payment Link.
🧾 The customer will receive an email with a "Make Payment" button — clicking it will redirect them to a Stripe checkout page. You can also copy the link from the preview and send it manually.
🔹 2. Create by Job
Use this if you're billing based on an existing job.
Just enter the Job Number — this is mandatory.
The system will auto-fetch all related billing details.
Click Generate Payment Link and review the email preview.
After confirming, click Send.
 You can also enter multiple job numbers (e.g.,
 80190,80191). The preview will display individual job charges followed by a calculated total, with a single payment link at the bottom.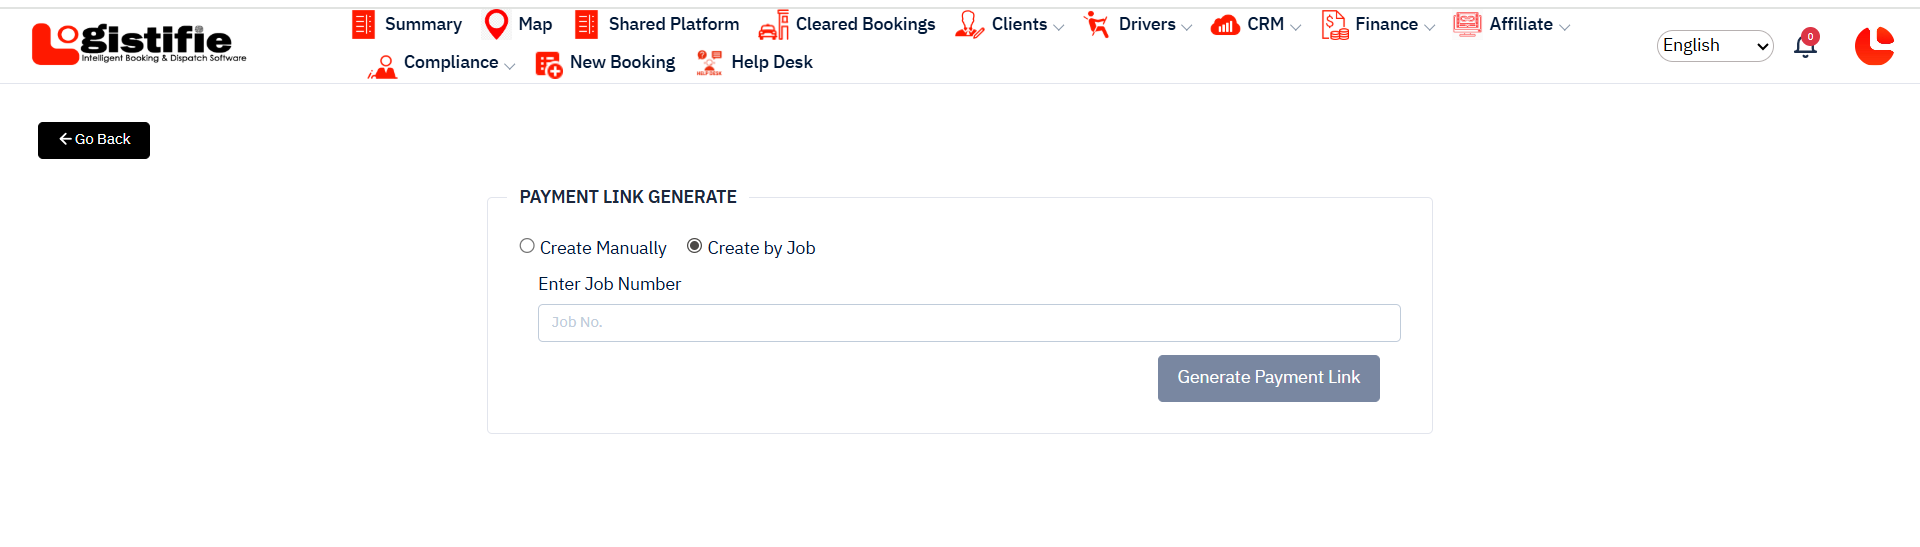
📊 Tracking Payment Status
After sending a payment link, return to the Payment Link Summary page to track everything.
Each entry shows the account name, customer, job number(s), charges, and the generated payment link.
The Paid? column will update to Yes or No based on whether the client has completed payment — updated in real time.
You can click or copy the Pay Link anytime if a resend is needed.
Related Articles
How to Integrate a Payment Gateway (Stripe) in Logistifie Dispatch System
Stripe is the supported payment gateway for secure and fast online payments in the Logistifie Dispatch System. Integrating Stripe enables you to receive payments from clients directly through the platform. ✅ Step 1: Navigate to the Integration Panel ...Guide to Setup Logistifie Dispatch System - How to Add a New Driver in Logistifie Dispatch System
Whether you're onboarding a freelance driver, a vehicle-owning partner, or a third-party service provider, the Logistifie Dispatch System allows you to add them under different driver types for better job assignment and tracking. ✅ Step 1: Navigate ...Guide to Setup Logistifie Dispatch System - How to Add a New Tariff in Logistifie Dispatch System
? How to Add a New Tariff in Logistifie In Logistifie, you can manage different types of tariffs to suit various ride types and customer needs. Each tariff is linked to a vehicle category, meaning every vehicle type (like Business Class, Van, SUV, ...Guide to Setup Logistifie Dispatch System - How to Add a New Client in Logistifie Dispatch System
The Logistifie Dispatch System allows you to manage different types of clients efficiently. Follow these steps to add a new client into the system. Step 1: Navigate to the "Client" Section 1. Login to your Logistifie Admin Dashboard. 2. On the left ...Guide to Setup Logistifie Dispatch System - How to Add a New Coverage Zone in Logistifie Dispatch System
?️ How to Add a New Coverage Zone in Logistifie Adding coverage zones allows you to define service areas on the map where your fleet operates. Here's a step-by-step guide to help you create a new coverage zone in the Logistifie platform. ...